Peak Performance, Optimal Recovery: A Guide to Wound Care in Sports
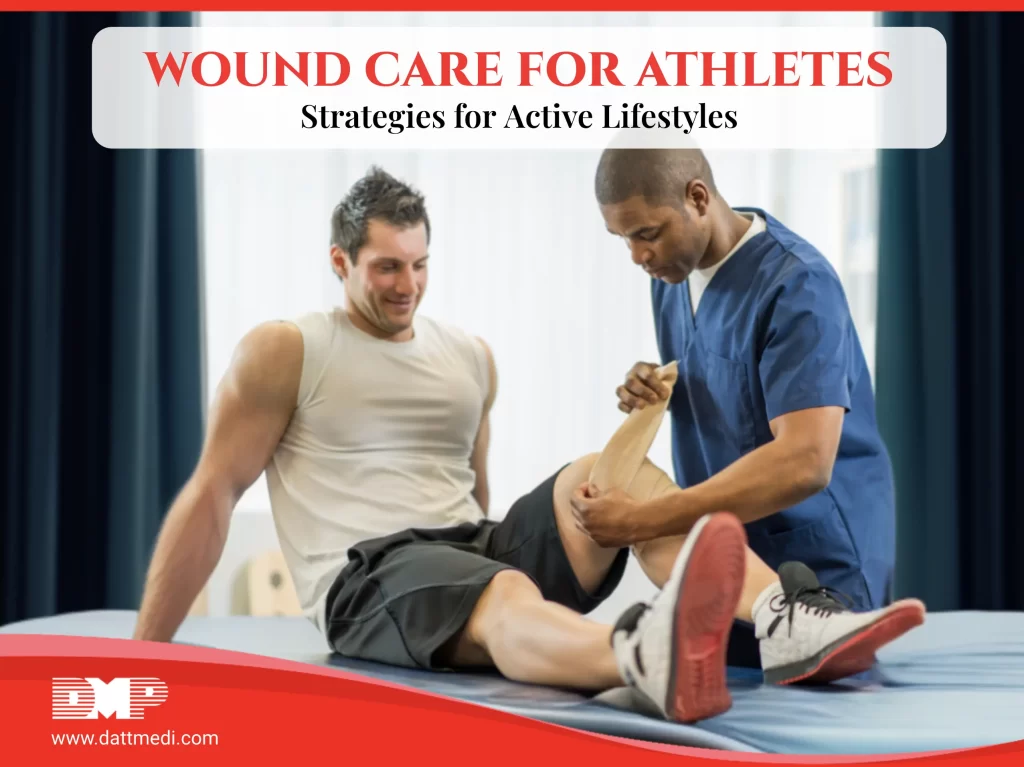
Athletes constantly push their bodies to the limit, making them more prone to injuries and wounds. From minor cuts and bruises to more serious sprains and strains, managing these injuries effectively is crucial for maintaining peak performance and ensuring a swift recovery. This blog delves into effective wound care strategies for athletes and highlights how the innovative Velcool® cooling and compression bandage can play a pivotal role in their recovery.
Understanding Common Athletic Injuries
Athletic activities can lead to a variety of injuries, including:
Sprains and Strains: Overstretching or tearing of ligaments and muscles.
Bruises: Caused by impact, leading to bleeding under the skin.
Cuts and Abrasions: Resulting from falls or contact with rough surfaces.
Overuse Injuries: Such as tendonitis, caused by repetitive motion.
The RICE Method: A Foundation for Acute Injury Management
The RICE method is a tried-and-true approach for managing acute sports injuries. It stands for Rest, Ice, Compression, and Elevation, each component playing a vital role in minimizing damage and speeding up recovery.
Rest: Essential to prevent further injury and allow the body to begin the healing process. Avoiding stress on the injured area helps prevent exacerbation of the damage.
Ice: Applying ice reduces pain and inflammation by constricting blood vessels, limiting blood flow to the affected area.
Compression: Helps reduce swelling and provides support to the injured tissue by limiting fluid accumulation around the injury.
Elevation: Keeping the injured part above the level of the heart reduces swelling, associated pain, and discomfort.
Introducing Velcool® : Enhancing the RICE Method
Velcool® is a state-of-the-art cooling and compression bandage that adheres perfectly to the principles of the RICE method. It offers several benefits that make it an indispensable tool for athletes.
Strategies for Effective Wound Care in Athletes
1. Immediate Attention:
Address injuries immediately to prevent them from worsening.
Use products like Velcool® for instant cold and compression therapy.
2. Proper Cleansing:
Clean cuts and abrasions thoroughly to prevent infection.
Use antiseptic solutions and keep the wound covered with sterile dressings.
3. Monitor Healing:
Regularly check the injury for signs of infection or complications.
Adjust the level of activity based on the healing progress.
4. Nutrition and Hydration:
4a. Maintain a balanced diet rich in proteins, vitamins, and minerals to support the healing process.
4b. Stay hydrated to promote overall health and recovery.
5. Gradual Return to Activity:
Gradually reintroduce physical activity to avoid re-injury.
Follow a rehabilitation plan designed by a healthcare professional.
Effective wound care is vital for athletes to maintain their active lifestyles and ensure quick recovery from injuries. The RICE method provides a solid foundation for managing acute injuries, and innovations like the Velcool® cooling and compression bandage enhance this approach. By incorporating these strategies and utilizing advanced products, athletes can minimize downtime, promote healing, and get back to their peak performance levels swiftly.
For athletes and sports enthusiasts, embracing the right wound care techniques and products like Velcool® can make a significant difference in their overall health and performance. Stay active, stay safe, and ensure your body gets the care it deserves.
Compression can be safe for some older adults with fragile skin, but the right product, pressure and fit matter. If circulation is reduced or the skin is extremely fragile, a healthcare professional should assess the leg before compression is used.
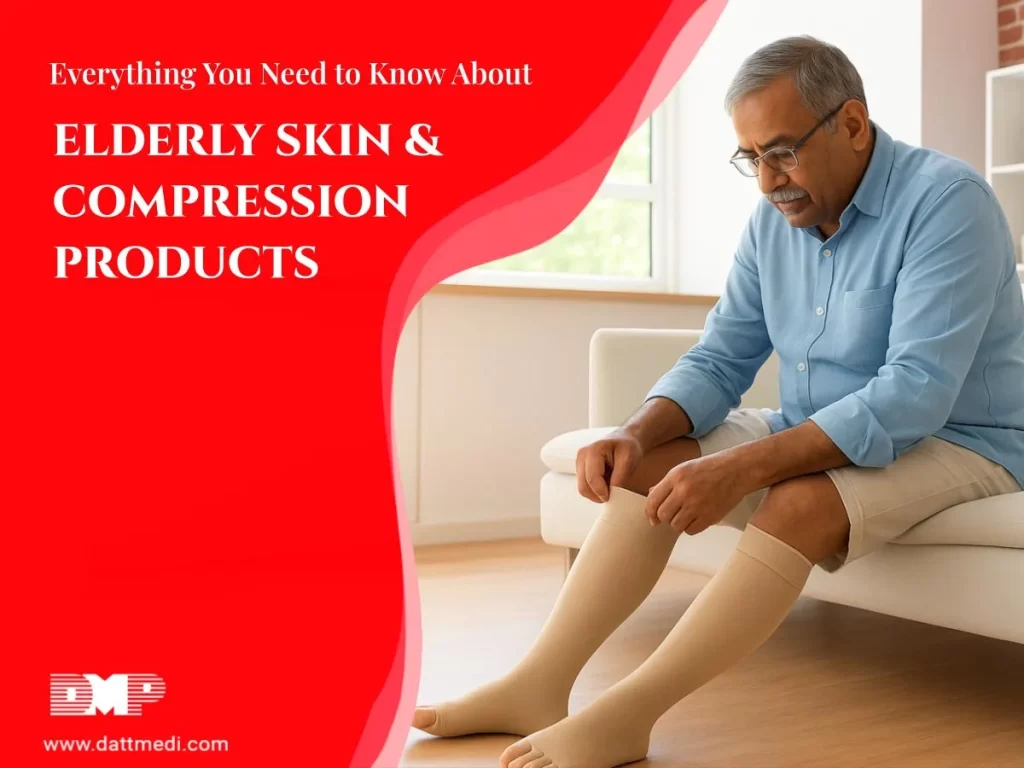
As we age, skin becomes thinner, drier and less elastic. This can make it easier to bruise, tear or become irritated from pressure and friction. That does not automatically mean compression must be avoided. It means the garment or bandage needs to be selected, applied and monitored carefully.
This blog explains how compression stockings and bandages differ, what to look for when skin is fragile, how to use compression more safely, and which warning signs mean you should stop and seek medical advice.
Why Does Aging Skin Need Extra Care with Compression?
Older skin is more vulnerable to pressure, friction and skin damage, so fit and application become especially important.
Common changes in aging skin include:
Thinner skin
Reduced elasticity
Increased dryness
Greater tendency to bruise
Higher risk of skin tears
Slower recovery from skin damage
A compression garment that fits incorrectly or is applied roughly
can create unnecessary pressure or friction. Regular skin checks
are therefore particularly important for older adults.
Are Compression Stockings or Bandages Better for Fragile Skin?
Neither option is automatically better. The choice depends on the person’s skin condition, swelling, limb shape, dexterity and the type of compression required.
Factor
Compression Stockings
Compression Bandages
Pressure
Designed to provide a defined level of compression
Depends on the bandage system and application
Fit
Requires accurate measurement
Can be adjusted around the limb
Application
May be difficult for people with limited hand strength or mobility
Often requires correct wrapping technique
Swelling
Useful when the limb can be fitted appropriately
Can be useful when limb size changes
Fragile skin
Needs careful application to avoid pulling or friction
Requires careful wrapping without excessive pressure or folds
For someone who has difficulty putting on or removing a stocking, assistance or an appropriate application aid may be needed.
The correct compression level depends on the reason for compression, circulation, swelling and the person’s medical condition.
Do not assume that a stronger compression level is better. If someone has peripheral arterial disease, reduced sensation, significant skin problems or other medical conditions, professional assessment is particularly important before compression is used.
NICE recommends assessment for peripheral arterial disease when compression hosiery is being considered.
3. Skin-friendly material
Look for material that feels comfortable against the skin and does not create unnecessary rubbing or moisture build-up.
The garment should also sit smoothly against the leg rather than bunching into folds.
What Are the Risks of Incorrect Compression?
Poor fit, excessive pressure, wrinkles or rough application can contribute to skin irritation, pressure damage or circulation problems.
Possible problems include:
Redness or irritation
Pressure marks
Bruising
Skin tears
Blisters
Skin breakdown
Numbness or tingling
Reduced circulation when compression is inappropriate
The risk is particularly important when the person has reduced sensation and may not notice pressure or discomfort immediately.
How Can Older Adults Use Compression More Safely?
Apply compression gently, avoid wrinkles, check the skin regularly and follow the recommended wear instructions.
1. Apply it gently
Avoid pulling aggressively on fragile skin. Gloves or suitable donning aids may make application easier and reduce unnecessary friction.
2. Keep the skin moisturised
Dry skin can be more vulnerable to cracking and irritation. A suitable fragrance-free moisturiser can help maintain the skin barrier.
Allow moisturiser to absorb before applying compression, and follow the garment manufacturer’s care instructions.
3. Remove wrinkles and folds
Wrinkles can create concentrated areas of pressure.
After applying the garment or bandage, check that it sits smoothly and does not form tight folds.
4. Check the skin every day
Pay particular attention to:
Ankles
Heels
Shins
Toes
Behind the knees
Areas over bony prominences
Look for new redness, bruising, blisters, swelling or skin damage.
5. Follow professional advice on wear time
There is no single wear schedule that is right for everyone. Follow the instructions provided for the specific condition, product and compression level.
When Should Compression Be Avoided or Professionally Assessed?
People with circulation problems, reduced sensation, significant skin damage or certain heart conditions should receive professional advice before using compression.
Extra assessment may be needed when there is:
Known or suspected peripheral arterial disease
Significant loss of sensation or peripheral neuropathy
Very fragile or damaged skin
Open wounds or active skin infection
Significant or unexplained swelling
Heart failure or other significant cardiac conditions
A leg shape that makes correct fitting difficult
NICE notes that strong compression can affect arterial blood supply in people with peripheral arterial disease, which is why circulation assessment matters before compression is prescribed.
For people with venous leg ulcers, evidence reviewed by Cochrane indicates that compression can improve healing compared with no compression, although the evidence around adverse effects is less certain.
What Warning Signs Mean Compression Should Come Off?
Stop and seek medical advice if compression causes new or worsening symptoms such as significant pain, numbness, marked colour change, cold toes, blistering or skin damage.
Remove the garment or seek urgent medical assessment if you notice:
New numbness or tingling
Significant or increasing pain
Toes becoming unusually cold, pale or blue
New blisters or skin tears
Rapidly worsening swelling
Skin becoming damaged beneath the garment
Sudden one-sided leg swelling, pain, warmth or redness also needs prompt medical assessment because these symptoms can have causes that require urgent treatment, including a possible blood clot.
Do not simply increase or decrease compression yourself when symptoms appear. Get professional advice about the cause and the appropriate level of support.
Can Compression Help Older Adults with Swelling?
Compression can help manage certain types of leg swelling, particularly when swelling is related to venous or lymphatic problems, but the cause of swelling should be considered first.
Compression is not appropriate for every type of swelling.
If swelling is new, sudden, one-sided or accompanied by pain, warmth or redness, medical assessment is more important than simply applying compression.
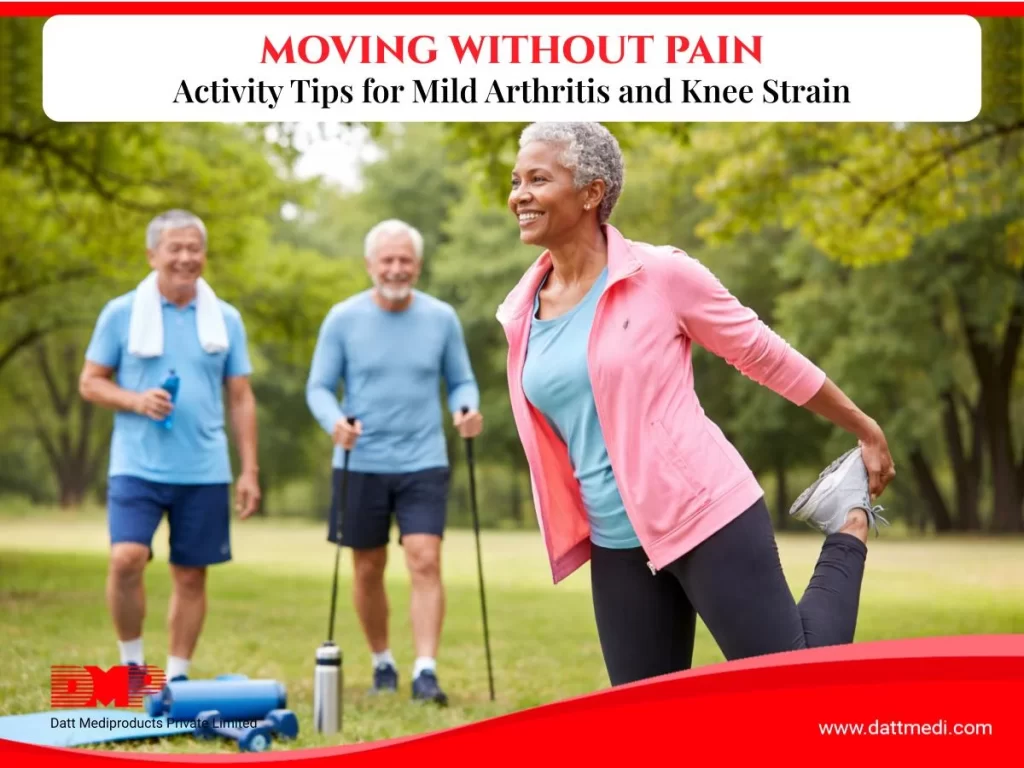
Avoiding movement because of mild arthritis or knee strain usually backfires — it leads to more stiffness, not less. The safer path is choosing joint-friendly, low-impact activity and adding support where it genuinely helps.
Many people assume rest is always the right answer for joint pain. But joints depend on regular movement to stay flexible and well-lubricated. Inactivity tends to weaken the surrounding muscles, which puts more pressure on the joint itself — not less.
This blog breaks down what actually helps, what to avoid, and how to build a routine that keeps you moving safely.
Rest vs Movement: What Is Actually Different?
Both approaches feel intuitive when a joint hurts, but they lead to very different long-term outcomes. The key difference is what each one does to the muscles and tissue surrounding the knee over time.
Reduces pressure by sharing load with stronger muscles
Prolonged rest may be appropriate during acute flare-ups or when recommended as part of clinician-directed recovery. For day-to-day management of mild arthritis or knee strain, gentle, regular movement is generally more suitable.
However, both approaches can have drawbacks when overdone. Too much rest can contribute to long-term mobility loss, and on the other hand exercising at too high an intensity that the body is not ready for can aggravate pain.
Why Movement Matters for Joint Health
Gentle, regular movement keeps the joint lubricated, keeps the muscles around it strong, and actually reduces stiffness — the opposite of what many people expect.
Gentle, regular movement can help:
Improve joint flexibility
Strengthen the muscles that support the knee
Reduce stiffness after periods of rest
Support overall mobility
Low-Impact Exercises That Are Easier on the Knees
Which to Choose
Walking, swimming, and cycling are the three most commonly recommended options because they build strength and mobility without the sudden impact that aggravates joint pain.
Activity
Impact Level
Best For
Key Benefit
Walking
Low
Daily movement, circulation, beginners
Simple, accessible, supports circulation without jarring the joint
Swimming / water aerobics
Very low
Significant pain, higher body weight, flare-ups
Water supports body weight, letting you move with far less strain
Cycling (stationary or smooth terrain)
Low
Building quadriceps and hamstring strength
Controlled, repetitive motion strengthens muscles without impact
Walking On flat, stable surfaces, walking is one of the simplest ways to stay active and supports circulation in the legs without jarring the joint.
Swimming or water exercise Water supports your body weight, so swimming and water aerobics let you move comfortably with far less strain on the knees than land-based exercise.
Cycling A stationary bike or smooth terrain lets you strengthen the muscles around the knee through controlled, repetitive motion, without impact.
Do Knee Supports Actually Help During Activity?
Yes, as an aid; not a replacement for strengthening.
Knee sleeves and braces add mild compression and stability,
which can make movement feel safer and more comfortable, especially early on.
Supports may help by:
Providing mild compression around the joint Adding extra stability during movement Increasing confidence while walking or exercising. Options like Knee Cap® or Knee Cap Classic® offer light, breathable compression suited for daily activity.
However, knee supports should not become a long-term substitute for strengthening the muscles around the joint. Over-reliance on external supports may reduce how much the muscles have to work, which can contribute to weakness over time. As strength and stability improve, it may be appropriate to reduce or stop using the support, depending on individual needs and professional guidance.
Strengthening the Muscles Around the Knee
Stronger muscles around the knee take pressure off the joint itself. This is one of the most effective long-term ways to reduce strain, more so than rest alone.
After getting professional guidance, useful exercises often include:
Gentle resistance exercises for the quadriceps Light hamstring strengthening Controlled stretching for flexibility
If you’re recovering from an actual strain rather than general stiffness, the difference in approach matters.
Arthritis specifically carries its own considerations for compression and activity level.
Lifestyle Habits That Support Joint Health
Body weight, footwear, and seating all affect how much daily pressure lands on your knees — small adjustments here reduce strain without any exercise involved.
Helpful adjustments:
Maintaining a healthy body weight
Wearing supportive footwear
Choosing chairs with proper back and leg support
Pacing activity and taking breaks when needed
For added support during activity, compression bandages are sometimes used to manage strain, and tapes and adhesive supports can help with dressing security if there's any accompanying skin sensitivity or minor injury.
When to Scale Back and Check In With a Professional
Movement should feel manageable, not punishing. Some signals mean it’s time to pause and get guidance rather than push through.
Pain increases noticeably during or after activity
Swelling develops or worsens
Movement becomes noticeably more difficult than usual
The knee feels unstable or gives way
Physiotherapists can build a personalised activity plan that supports recovery without overloading the joint.
Staying Active Safely
Staying active with mild arthritis or knee strain isn’t about avoiding movement, it’s about choosing the right kind. Low-impact exercise, appropriate support, and a few lifestyle adjustments let most people keep moving comfortably while protecting long-term joint health.