Search by Blog
Read by Category

Your healing journey continues beyond this blog

Find the right products for better recovery at online store
Cart Image
Overcoming Delayed Healing

Overcoming Delayed Healing: Common Causes and Practical Tips

Healing is a natural process—but sometimes, wounds don’t heal as quickly as expected. Delayed healing can impact physical comfort, increase the risk of infection, and reduce quality of life. 

The good news…
Many common causes of delayed healing can be managed with simple lifestyle adjustments. Let’s explore these causes and discover actionable tips for improving the healing process.

Understanding Delayed Healing

Wound healing is influenced by various factors—some within our control, others that may require professional intervention. Identifying these causes is the first step toward a faster, more efficient recovery.

Common Causes of Delayed Healing

  • Poor Nutrition: Lack of essential nutrients, such as proteins, amino acids, fatty acids, carbohydrates, vitamins (A, C & E) and micronutrients (magnesium and zinc) to name a few, slows tissue repair by affecting one or more phases of the wound healing process.
  • Inadequate Hydration: Dehydration impairs skin regeneration.
  • Underlying Health Conditions: Conditions like diabetes, diabetes associated neuropathy, vascular diseases, or immune disorders can complicate healing.
  • Smoking or Alcohol Consumption: These enhance host susceptibility to infections that lead to impaired angiogenesis thereby reducing blood flow and oxygen delivery to tissues which are essential for wound healing.
  • Stress and Poor Sleep: Disrupt hormone balance and deregulate the immune system, which directly affects recovery. Additionally, stressed individuals are more likely to develop unhealthy habits such as inadequate nutrition, smoking, less exercise, poor sleep patterns; negatively modulating the healing mechanism.
  • Infection or Repeated Trauma to the Wound: Can significantly hinder the healing process. Microorganisms obtain easy access to the underlying tissues when skin is injured. The presence of replicating microorganisms in the wound elongates the inflammatory phase of the wound healing process. This can lead to the wound to enter into a chronic state with significant delay in wound healing.

Nutrition & Hydration Matter

Proper nutrition is essential for healing.

Incorporate the following into your diet:

  • Lean proteins (eggs, fish, legumes) for tissue repair
  • Fresh fruits and vegetables for vitamins and antioxidants
  • Whole grains to support energy levels and tissue growth
Tip: Staying well-hydrated ensures nutrients are transported to your cells, promoting faster healing and flushing out toxins.

Sleep & Stress Management

Proper rest accelerates healing. Focus on these habits:

  • Aim for 7–9 hours of sleep each night.
  • Practice mindfulness or relaxation techniques to reduce stress.
  • Limit screen time and caffeine before bed to enhance sleep quality.

Did You Know? Chronic stress raises cortisol levels, slowing wound recovery.

Daily Movement & Gentle Activity

Physical activity promotes circulation, which helps deliver oxygen and nutrients to healing tissues:

  • Engage in light activities, like short walks, if possible.
  • Avoid putting pressure on the wound site, and take care to avoid friction.
  • Elevate limbs to reduce swelling.
Important: Always follow your healthcare provider’s advice regarding movement and wound care.
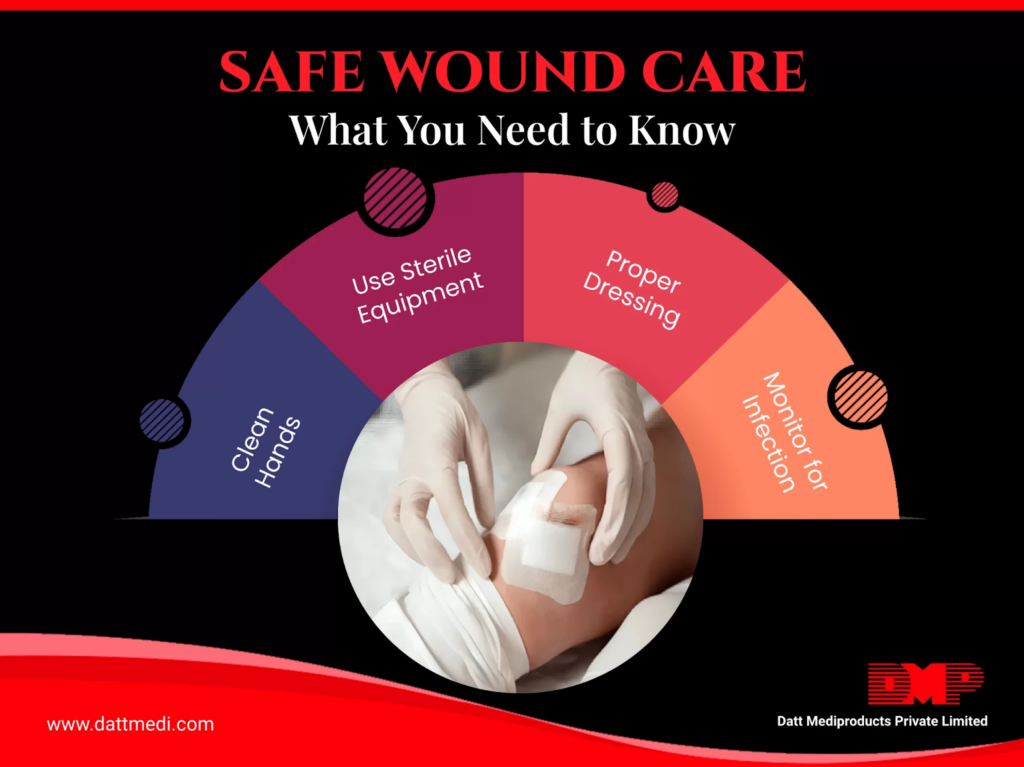
Basic Wound Hygiene

Maintaining wound hygiene is crucial:

  • Keep the wound clean and protected with proper dressings.
  • Change dressings regularly, as advised by your healthcare provider.
  • Avoid touching or scratching the wound area.
Pro Tip: Wash your hands thoroughly before and after touching a wound to reduce infection risk.

When to Seek Help

If your wound isn’t healing as expected or you get fever or flu-like symptoms or the wound shows signs of infection (such as increased redness, heat, swelling, pus, or a foul odor), seek professional medical guidance. Conditions like diabetes or circulatory issues may require specialized wound care.

Take Small Steps Toward Better Healing

Every small change—from better hydration to taking a short walk—adds up. By staying informed and committed to your healing process, you give your body the best chance to recover naturally.

Empowering You with the Right Solutions

At Datt Mediproducts, we understand the importance of optimal healing. While we don’t provide medical treatment, our advanced wound care solutions are designed to support your recovery by offering comfort, protection, and care where it matters most.

Visit www.dattmedi.com for more infomation.
Share:
Recent Blogs
Improper wound cleaning and dressing at home

At-home wound care plays a bigger role in healing than most people realize. Many wounds that later become infected or heal slowly don’t start as serious injuries; they worsen because of small, everyday mistakes in home care.

These mistakes are rarely intentional. They usually occur due to confusion, over-cleaning, ignoring signs of infection or using unsuitable dressings. With the right approach, however, effective wound care at home can significantly reduce infection risk, improve comfort, and support faster healing.

This blog is especially helpful for individuals managing minor cuts, post-surgical wounds, or caring for elderly patients at home. It explains the most common at-home wound care mistakes, how to avoid them, and when professional medical help is necessary.

Common At-Home Wound Care Mistakes (And What Works Better)

1. Over-Cleaning the Wound

The Mistake
Cleaning the wound too frequently or using strong solutions such as spirit, iodine, or hydrogen peroxide.

Why This Is a Problem
While cleaning is essential, over-cleaning can damage newly forming tissue and slow the body’s natural healing process. Repeated use of harsh antiseptics may irritate the wound bed and delay recovery.

What to Do Instead

  • Always wash your hand thoroughly first
  • Clean once daily or if the dressing gets dirty
  • Use a mild soap and clean water or saline
  • Gently pat dry—do not scrub
Practical Insight
For most minor wounds, gentle cleaning combined with appropriate wound care dressings is sufficient to prevent infection and support healthy healing.

2. Touching the Wound or Dressing Surface

The Mistake
Directly touching the wound or the surface of the dressing that comes in contact with the skin.

Why This Increases Infection Risk
Hands naturally carry bacteria, even after washing. Touching sterile surfaces can transfer germs directly to the wound, increasing the risk of infection.

What to Do Instead

  • Wash hands before and after wound care
  • Handle dressings only from the edges
  • Avoid reusing or adjusting used dressings
Practical Insight
Using sterile ready-to-use dressings helps maintain hygiene and reduces unnecessary handling during home care.

3. Using the Wrong Dressing for the Wound

The Mistake
Applying any available bandage without considering the wound type, size, or location.

Why This Slows Healing
An unsuitable dressing may stick to the wound, trap excess moisture, irritate surrounding skin, or restrict movement—leading to discomfort and delayed healing.

What to Do Instead

  • Asses the wound.
  • Depending on the type of wound choose an appropriate dressing. If you need help choosing a dressing or have any doubts of the type of wound please contact a healthcare professional.
  • Choose sterile, breathable, non-irritating dressings
  • Ensure secure but comfortable placement
  • Change the dressing regularly and if it becomes wet, dirty, or loose
Practical Insight
Well-designed gauze-based dressings and post-operative film dressings support protection, comfort, and consistent healing at home.

Step-by-Step: Safe Wound Care at Home

Following a simple routine helps prevent infection and supports steady healing.

Step 1: Assess the wound

  • Assess the wound to see how serious and what type of wound it is.
  • You should seek professional care if:
  • you can see the bone or blood vessels
  • the bleeding doesn’t stop even after pressure is applied
  • it is a burn wound
  • it is a bite wound from an animal

Step 2: Prepare

  • Wash hands thoroughly
  • Keep all dressing materials ready

Step 3: Clean

  • Rinse the wound gently with mild soap and clean water or saline
  • Pat dry with sterile gauze such as cotton gauze products

Step 4: Dress

  • If it is a minor cut of scrape let it air out, it doesn’t need a bandage
  • For larger wounds apply a sterile dressing without touching the pad
  • Smooth it gently so it stays in place

Step 5: Observe

  • Check and clean the wound daily. Monitor for changes
  • Replace the dressing as needed

For a more detailed look at everyday care practices that help wounds heal faster, see our wound care dos and don’ts for faster healing guide.

Warning Signs: When to Seek Medical Help

At-home wound care may not be enough if you notice:

  • Increasing redness, swelling, or warmth
  • Yellow or green discharge
  • Persistent pain or fever
  • A wound that does not improve after a few days

Early medical attention can prevent serious complications and support timely recovery.

Making At-Home Wound Care Safer and Simpler

Many households prefer sterile wound care solutions because they reduce guesswork and handling. These solutions are designed to:

  • Support hygiene
  • Reduce infection risk
  • Simplify daily wound care routines

Such products are commonly used in hospitals and home-care settings and are manufactured following international quality standards such as ISO and CE, making them trusted across global healthcare markets.

Effective wound care at home is about balance—cleaning gently, protecting properly, and knowing when professional care is needed. By avoiding common mistakes and following simple, hygienic steps, healing outcomes can be significantly improved.

With the right approach and reliable advanced wound care products, healing at home can be safe, comfortable, and confident.

Medical Disclaimer

This content is intended for general wound care education and does not replace professional medical advice. Always consult a healthcare provider for serious, worsening, or non-healing wounds.

Measuring leg circumference for compression garment sizing

A well-fitted compression garment supports movement, reduces swelling, and improves overall comfort during recovery. Even small measurement errors can affect its effectiveness. Whether you are a patient, caregiver, clinician, or distributor, understanding how to measure compression garments correctly ensures safe therapy and reliable results.

For suitable options, check our Compression Stockings Collection.

1. Why the Right Measurement and Fit Matters

Compression garments apply controlled pressure along the limb. The correct size ensures even pressure distribution and therapeutic effectiveness.

Benefits of Proper Fit:

  • Reduces swelling and discomfort
  • Improves blood and lymph circulation
  • Supports healing after injury, surgery, or chronic conditions
  • Makes daily activities like walking, standing, or sitting more comfortable
Example: Someone managing mild swelling or early varicose veins often feels lighter and more supported when using a properly sized garment, following a reliable compression stocking size guide.

2. Tools You Need for Accurate Measurement

Accurate sizing doesn’t require advanced tools.

You need:

  • A soft measuring tape
  • Manufacturer’s compression measurement chart or sizing guide
  • Notebook or phone to record values
  • Mirror or assistance for hard-to-reach areas
  • Good lighting for accurate readings
These simple tools help follow a medical compression garment sizing guide and reduce measurement errors.

3. Step-by-Step Guide: How to Measure Correctly

i) Ankle: Measure the narrowest point above the ankle bone.

ii) Calf: Measure the widest part of the calf for proper fit and support, including wide-calf users.

iii) Thigh (for thigh-high garments): Measure the thickest part of the thigh to avoid rolling and ensure secure fit.

Leg Length:

  • Knee-high: heel to just below the knee crease
  • Thigh-high: heel to the top of the thigh

iv) Arms (for sleeves/supports): Measure wrist, forearm, upper arm, and arm length. This ensures smooth, even compression from wrist to shoulder.

Quick Tips: 

  • Measure early in the morning when swelling is minimal.
  • Sit comfortably, keep tape snug, measure twice, and avoid measuring over clothes.

4. Common Fitting Mistakes to Avoid

  • Too Tight: Can cause numbness, tingling, or deep marks.
  • Too Loose: Slipping or wrinkling reduces effectiveness.
  • Incorrect Length: Too short rolls or digs in; too long bunches or slides down.
  • Not Rechecking: Limb size changes due to swelling, healing, or weight changes—regular measurement is important.

For reference, see our Compression Stockings Size Chart India.

5. When to Consult a Healthcare Professional

Specialists can confirm the correct compression level and ensure measurements match your condition, especially after surgery or for vascular issues.

Consult if you notice:

  • Persistent or increasing swelling
  • Discomfort while wearing the garment
  • Size falling between two chart options
  • Post-surgical changes
  • Conditions like diabetes or vascular disorders

Professional guidance ensures safe and effective therapy, particularly when using compression garments for varicose veins.

Accurate measurements are the foundation of effective compression therapy. Using simple tools, careful technique, and a trusted compression stocking size guide ensures your garment fits comfortably and supports healing. When unsure, consulting a healthcare professional provides confidence and safer results.

Logo

Datt Mediproducts Private Limited

Loading